
Quick Start Guide
Additional resources
LiveU Solo user guide
Sony HXR-MC88
Contact PlaySight support
Getting Started
This guide will take you through the SmartCourt GO system step-by-step. Start live broadcasting and recording in no time.
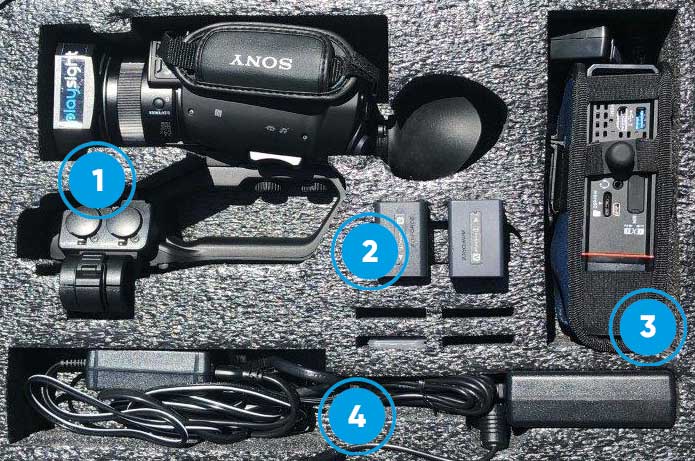
Inside your kit
- Sony SONY HXR-MC88 HD camcorder
- 2 battery packs for the camera
- LiveU Solo unit
- Cables
- Camera power cable
- LiveU Solo poer cable
- HDMI cable
Additional equipment:
- Tripod
You will also need your PlaySight admin account credentials to log in to your broadcast management interface. You can access this page from any web browser.
Setting up the GO kit
Before setting up the GO kit, make sure that your camera batteries and the LiveU Solo unit are fully charged.
The LiveU Solo contains an internal battery that enables up to two hours of standalone operation when fully charged. We recommend charging the battery for at least four hours before first using the LiveU Solo. To charge the battery, plug the 12V AC Power Adapter into the DC IN connector on the unit.
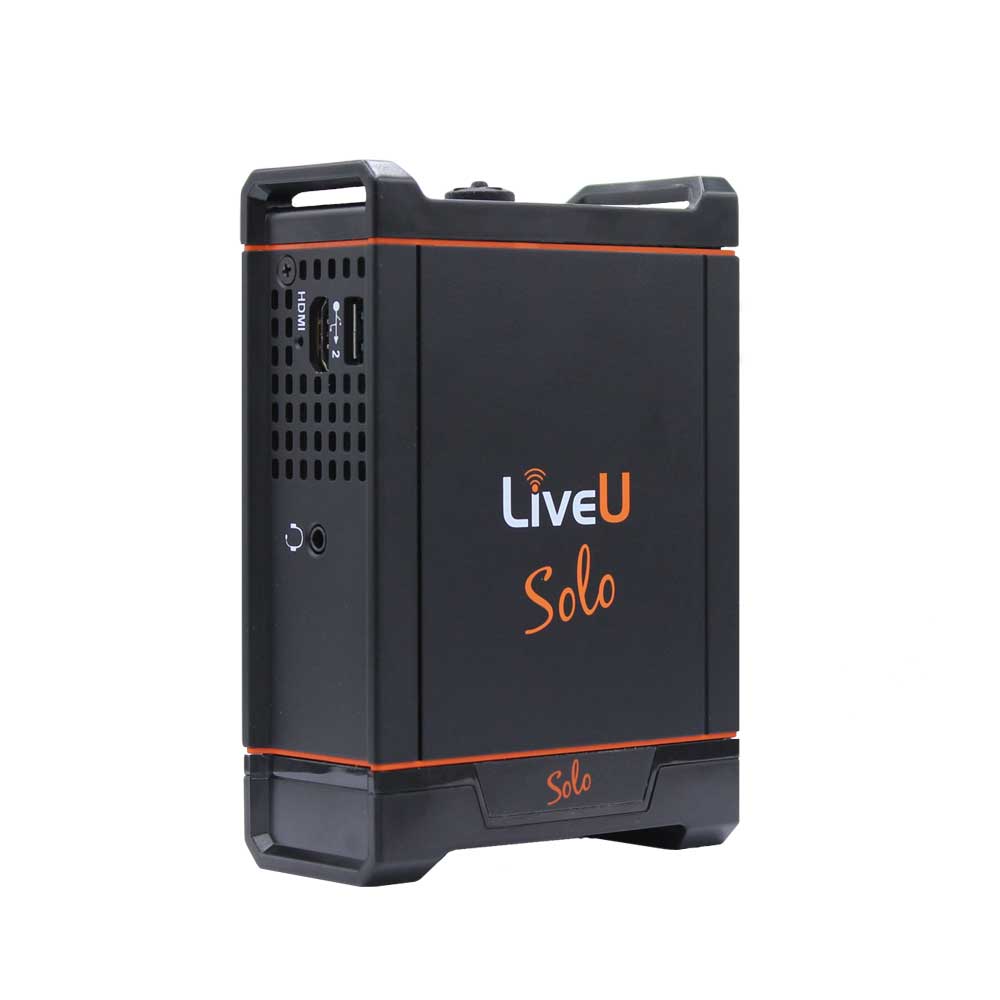
While charging, the LED near the DC IN connector will be red. When the battery is fully charged, this LED will turn green. Note that the battery charges even when the unit is turned on.
It is good practice to keep the unit plugged into a power outlet when it is not in use, ensuring it is charged and ready to GO whenever you need it.
LiveU Solo Connectivity
The LiveU Solo can connect and use up to four network interfaces:
- 2 x USB-connected modems (SIM card dongles)
- 1 x WiFi interface
- 1 x LAN interface (Wired)
Solo connectivity using cellular network
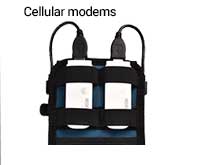
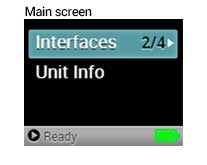
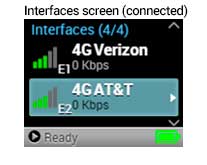
Your GO kit is equipped with two cellular USB modems. When turning on the Solo with the modems connected to the two USB ports on the unit , the Solo will automatically dial and connect to the network, updating the information accordingly.*
Solo connectivity using WIFI network
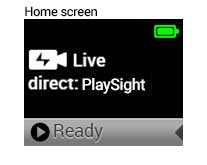
Network interfaces are managed from the Main screen. Once the LiveU Solo is powered on and ready for work, the Home screen displays. To go to the Main screen: Press the Right button or the Center (OK) button on the joystick. The Interfaces option on the Main screen indicates the number of active interfaces out of the total number of interfaces on the LiveU Solo.
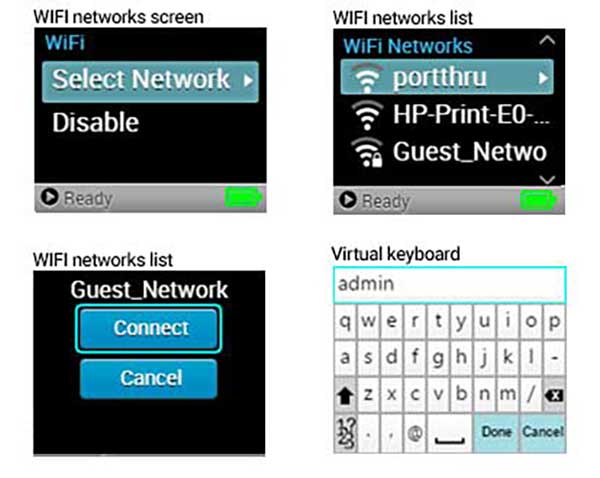
To configure WiFi on the Solo, navigate to the Interfaces option in the Main screen and scroll down using the Down buttons on the joystick to select the WiFi option.
Next, enter the Select Network option, The unit will scan available network. Use the up and down buttons to select a network.
Select a network and press Connect. For encrypted networks, enter the network password using the virtual keyboard, as shown below, and then press Done.
To disconnect a WiFi network, either disable WiFi or select a different network.
For LiveU Solo unit troubleshooting and complete user manual visit the LiveU user guides and help center.
Assembling the kit
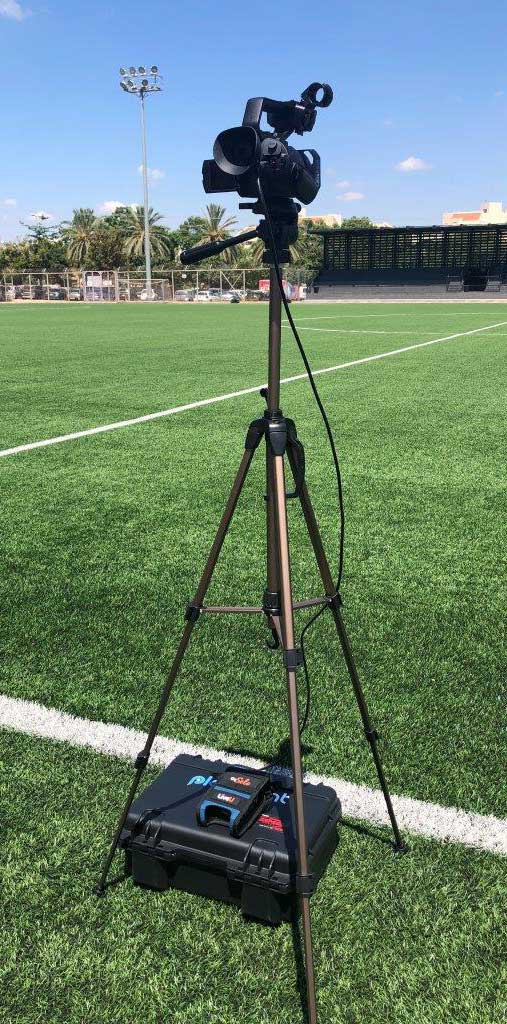
Once you find the right position on the field or court where you want to broadcast from, mount the camera to the provided tripod.
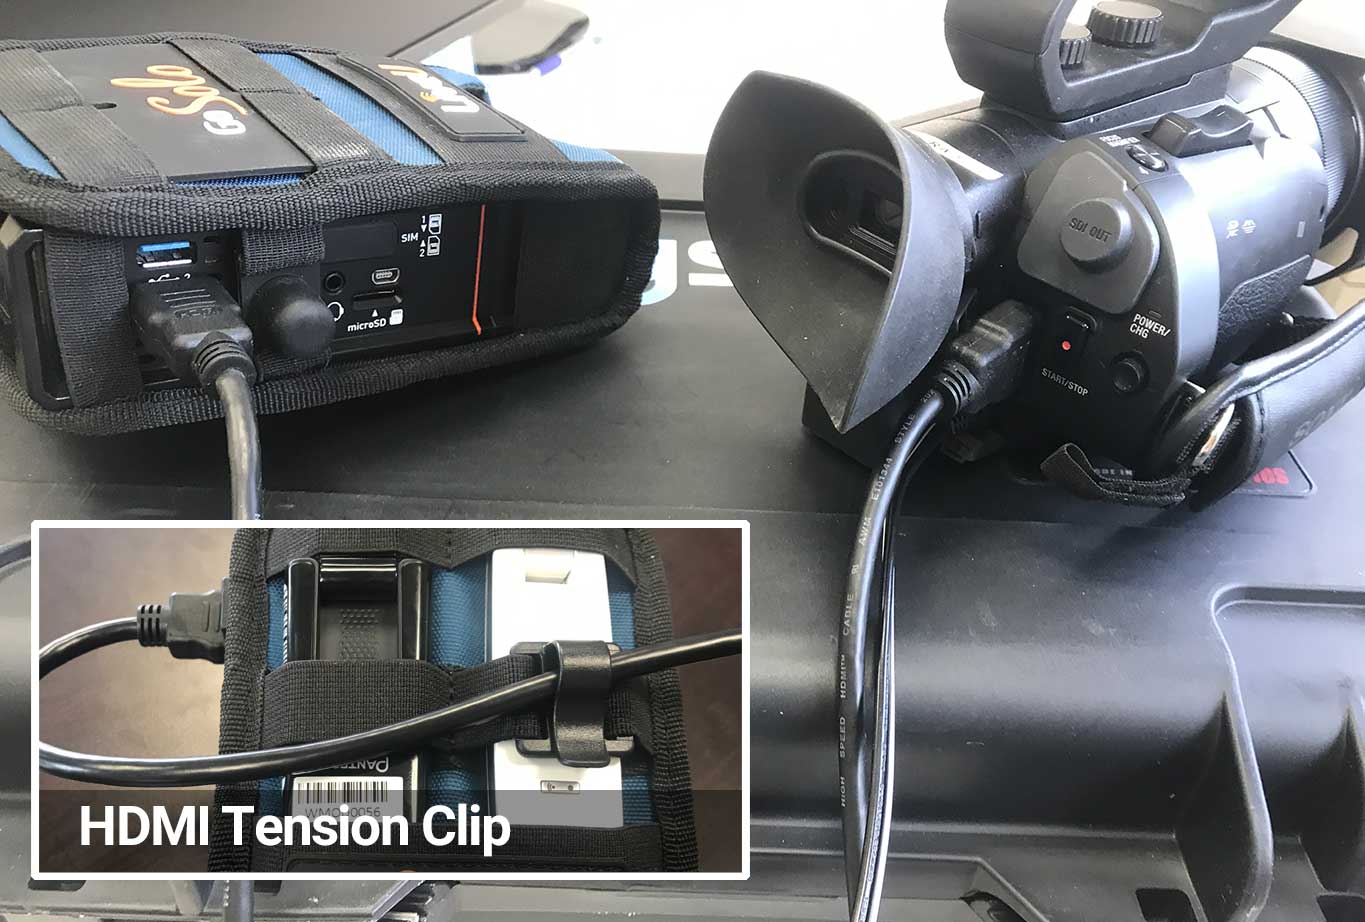
Connect the camera to the Solo unit using an HDMI cable and if possible, connect both the camera and the Solo to a power socket.
You can use the kit’s case as a base to place the Solo unit on.
Securing the HDMI
Your LiveU Solo comes with an HDMI clip to help you relieve tension from the HDMI cable. This is our solution since HDMI connectors doesn’t lock into place. It’s easy to accidentally tug the cable out of the side of the Solo. The tension clip lets you make a small loop of cable, insuring that if there is a tug on the cable its not directly pulling the cable out of the unit.
Prepare for broadcast
In order to broadcast, both devices must be turned on and the Solo unit should be connected to the internet.
To do so follow these steps:
Your kit is already configured to use the required settings. All that’s left to do is turn everything on and get it running.
- Turn the camera on by pressing the POWER button
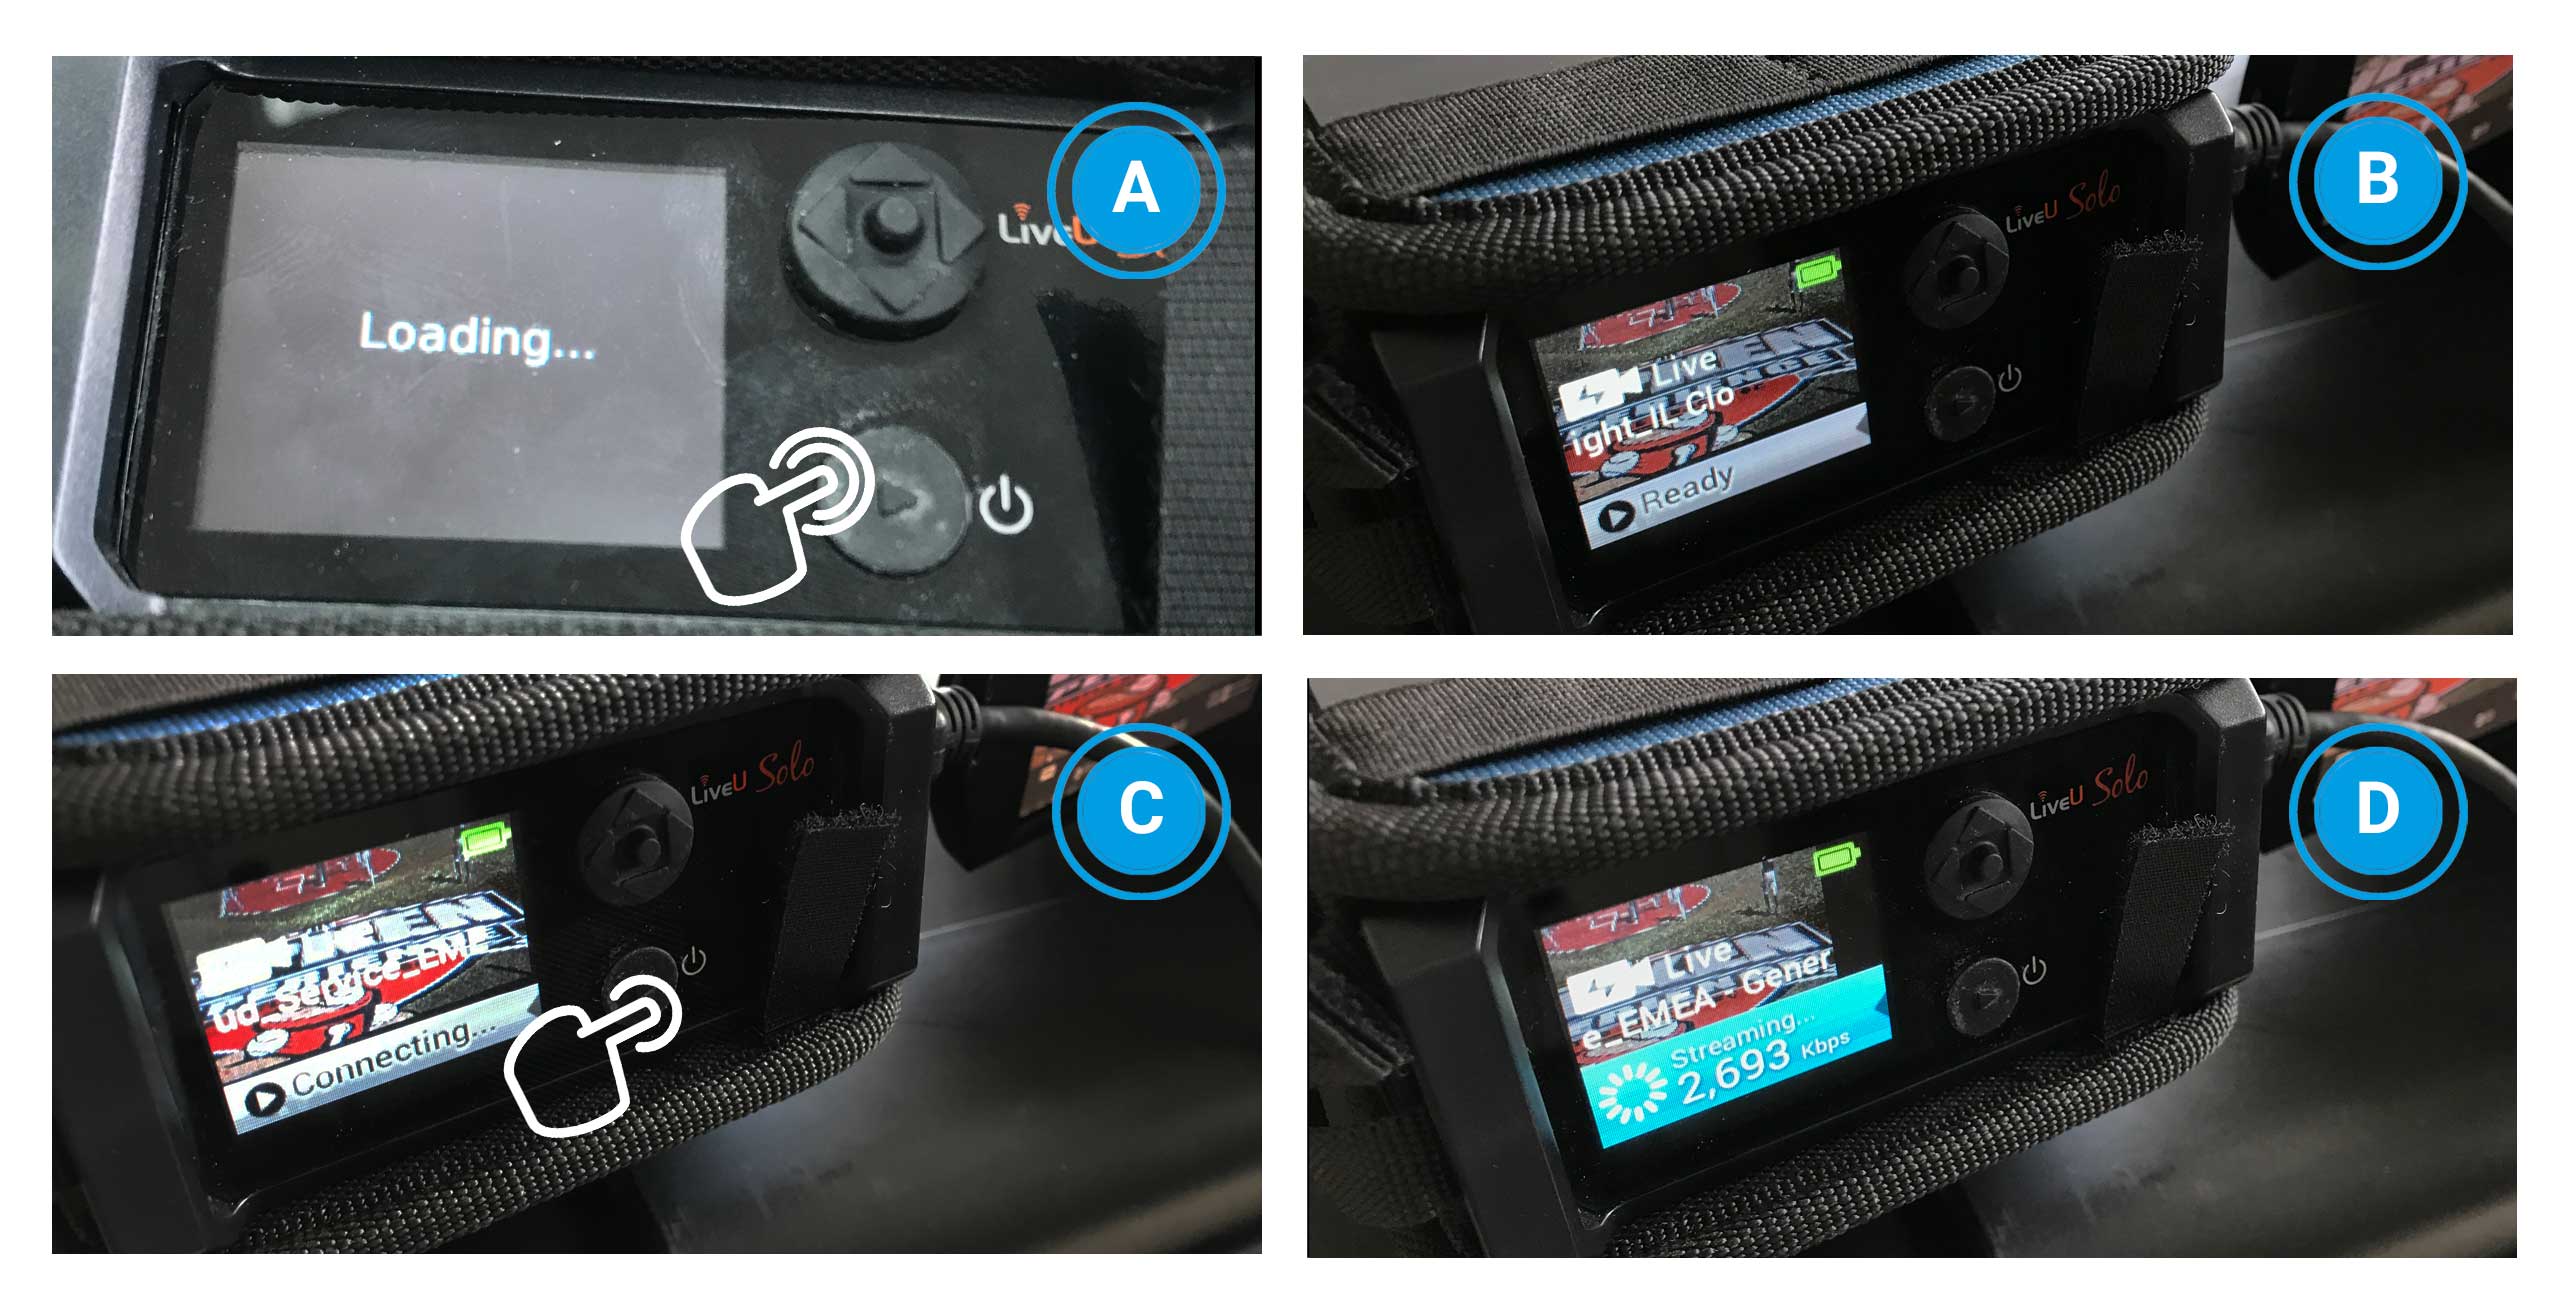
- Press and hold the POWER button on the Solo unit for five seconds to turn the unit on. The unit will start loading (image A) before it gets to the Ready state (image B).
- Set up additional networks if available (See Solo connectivity section above)
- Short press the POWER button to start streaming from the unit. The unit will go into Connecting (image C) state and finally will start streaming (image D). NOTE: At this point the stream is not published and video is not being recorded.
If you forget to start the streaming on your liveU unit, don’t worry – The PlaySight admin will start it for you but it will take slightly linger to initialise the stream.
Your SmartCourt Go is now ready for broadcasting, which you will manage from your PlaySight account admin panel.
For LiveU Solo unit trouble shooting and complete user manual visit the LiveU user guides and help center.
Going live
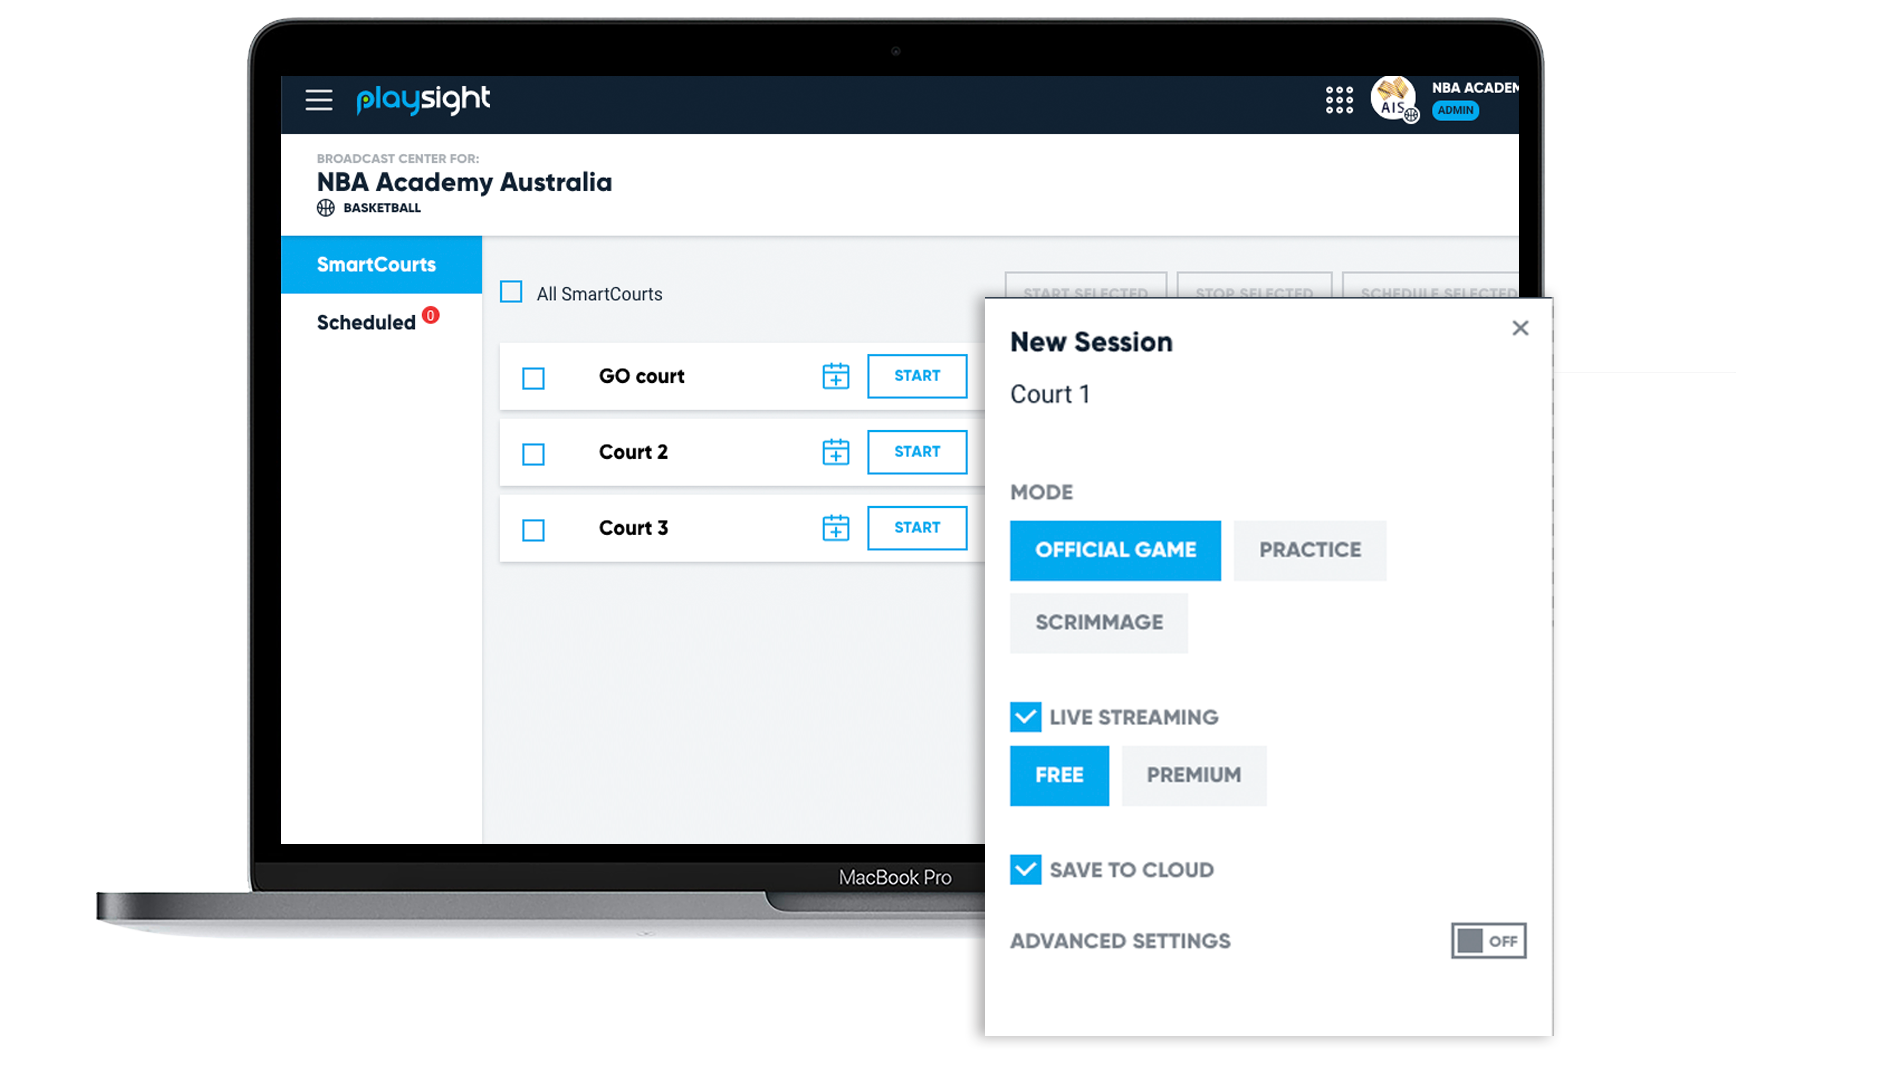
When you are ready to GO, log in to your PlaySight admin account at playsight.com.
- Click BROADCAST CENTER on the top menu bar
- Next to your SmartCourt GO click the START button.
- Select your session preferences and name your session – tick the Live streaming and / or Save to cloud boxes according to your needs. If you are new to the broadcast center you may find all the information in this user guide.
- Click START SESSION
Your session is now broadcasting to the PlaySight Cloud and to your broadcasting destination.
Ending your session
To end your video session, enter your admin page on PlaySight as described above, and click STOP SESSION.
Cloud recording
The video streamed from the Solo unit to PlaySight is being recorded on the cloud (if the Save to cloud option is ticked on your session settings on the PlaySight admin). Once your session is over you can enter your account from any web browser and enter the FACILITY VIDEOS section of your account.
You will find all your videos recorded on the SmartCourt GO arranged chronologically. From your account you will be able to download your video, share and edit clips.
Help and support
For further help and support needed for operating your SmartCourt GO kit you can contact our support team at support@playsight.com and we will be happy to assist you