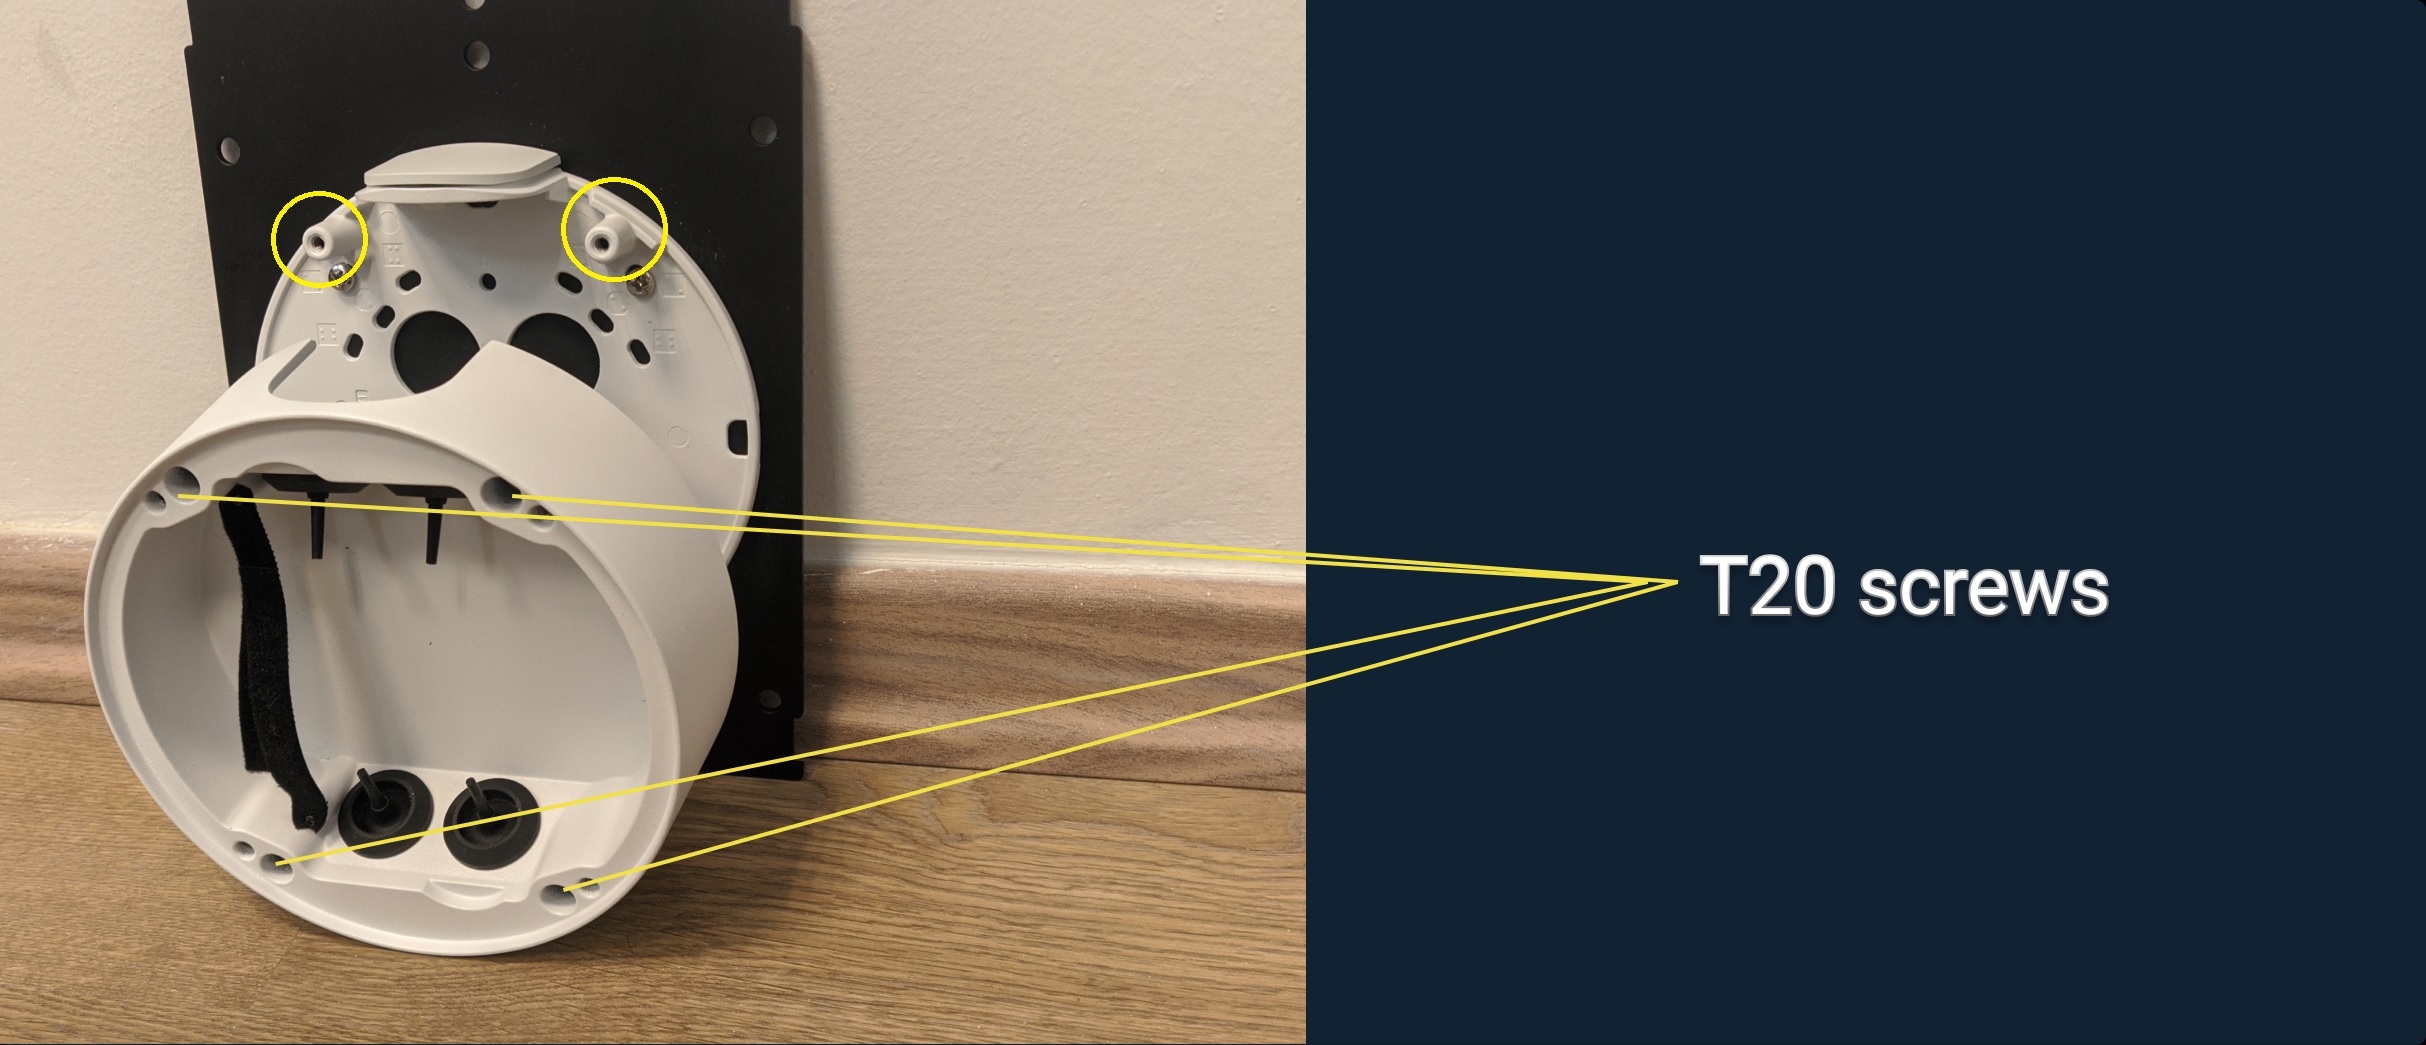
After choosing the camera placement, you need to mount the conduit back box (you can mount on a wall, board, rails, ceiling, designated plate or box etc.)
the conduit back box consists of 3 main parts:
– back plate – mounted to the wall
– middle compartment – cable management
– top Cover
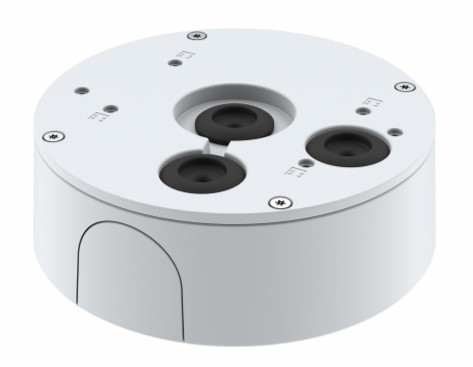
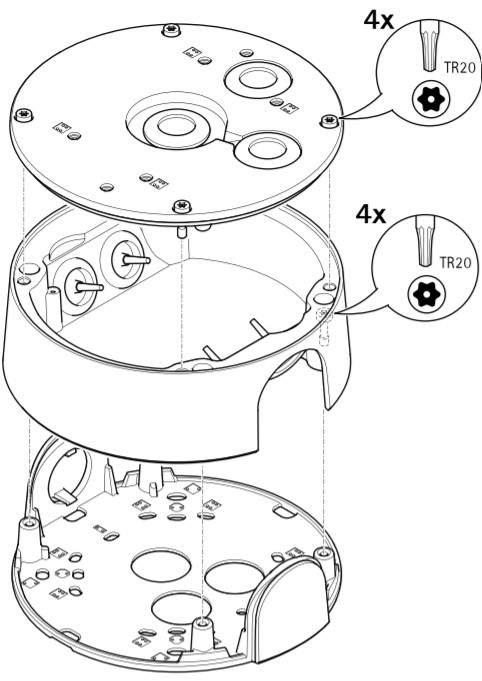
1. unscrew the 4 T20 screws and remove the cover.
2.
you can also use the accompanied black plate: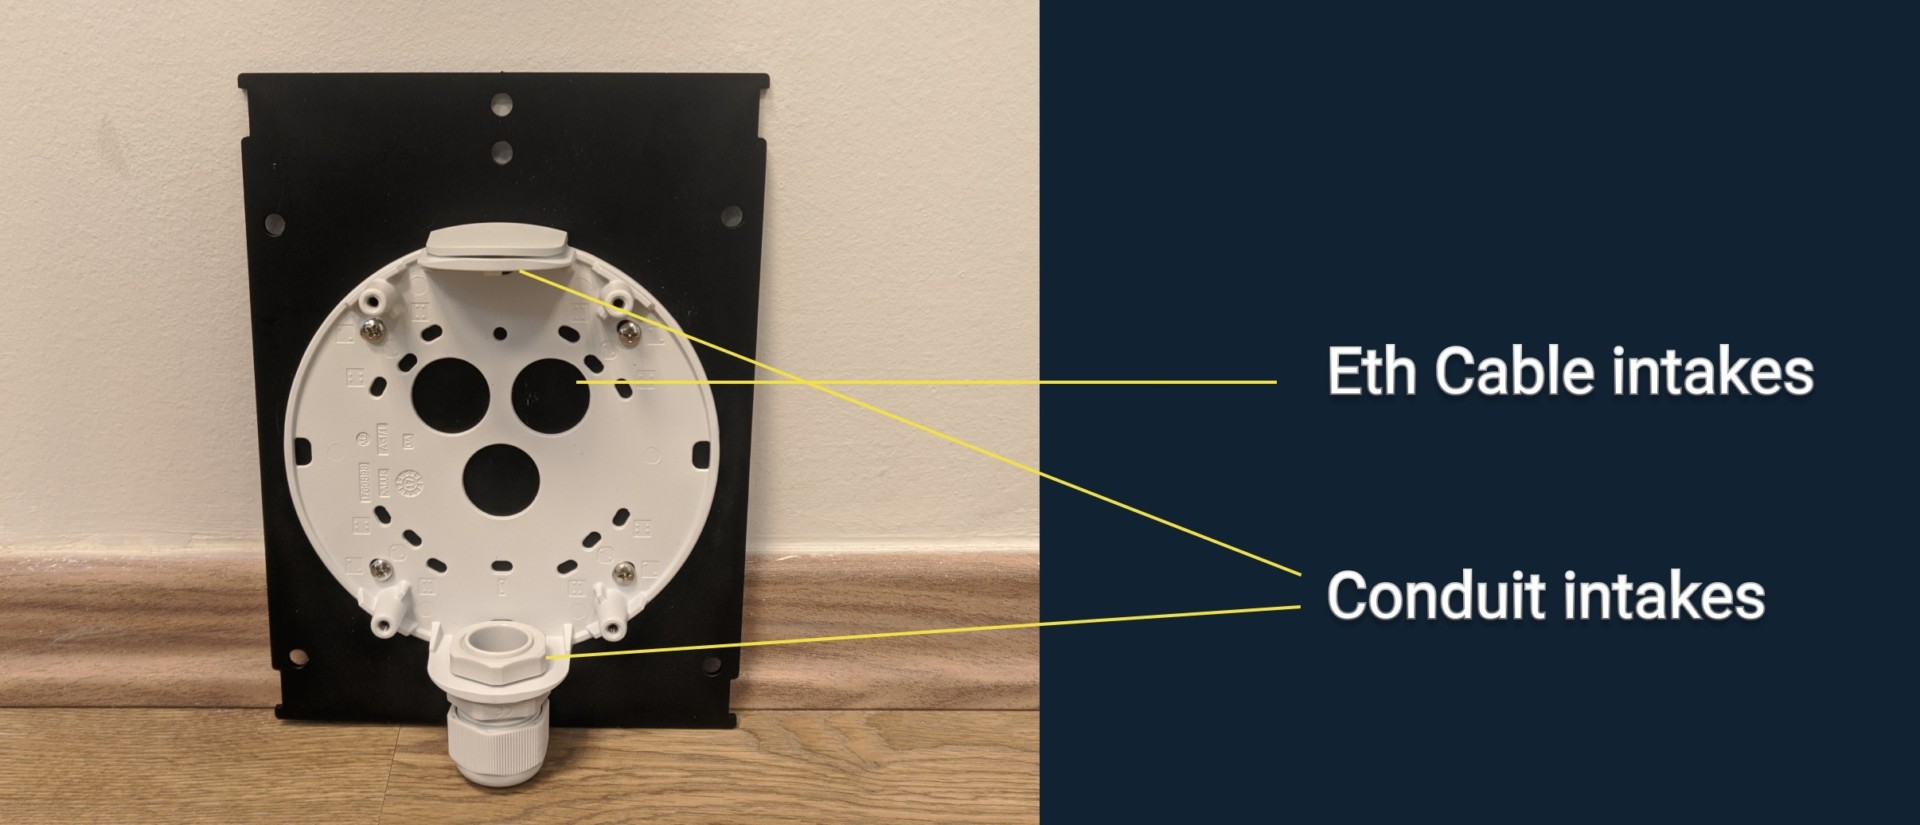
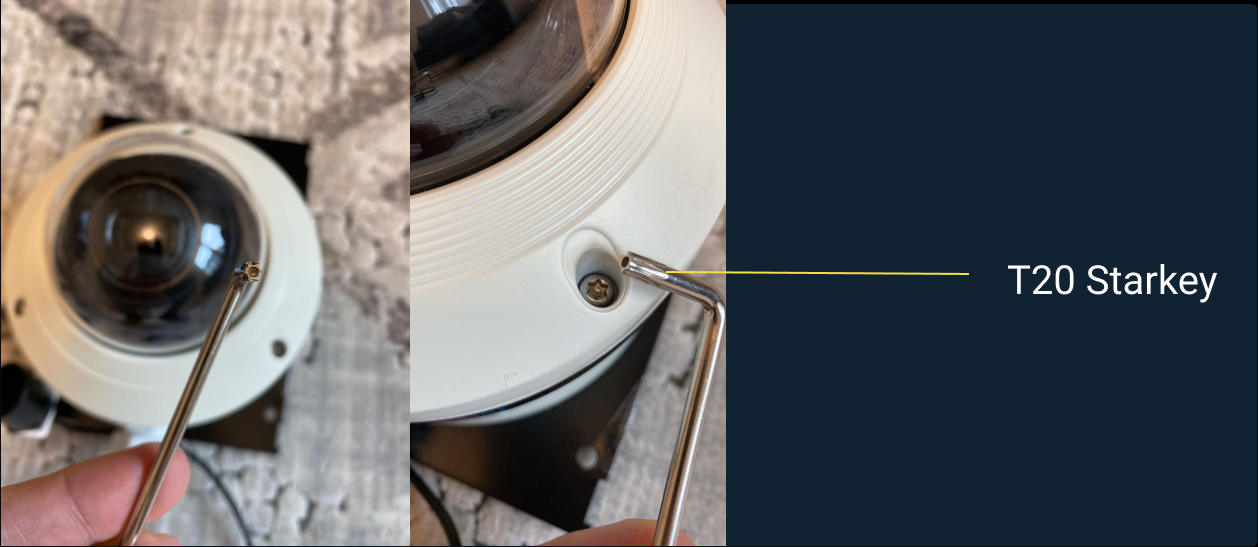
2. mount the conduit plate cover with T20 Star key
3. Make sure the eth cable + RJ45 female keystone and microphone cables are inside the camera plate.
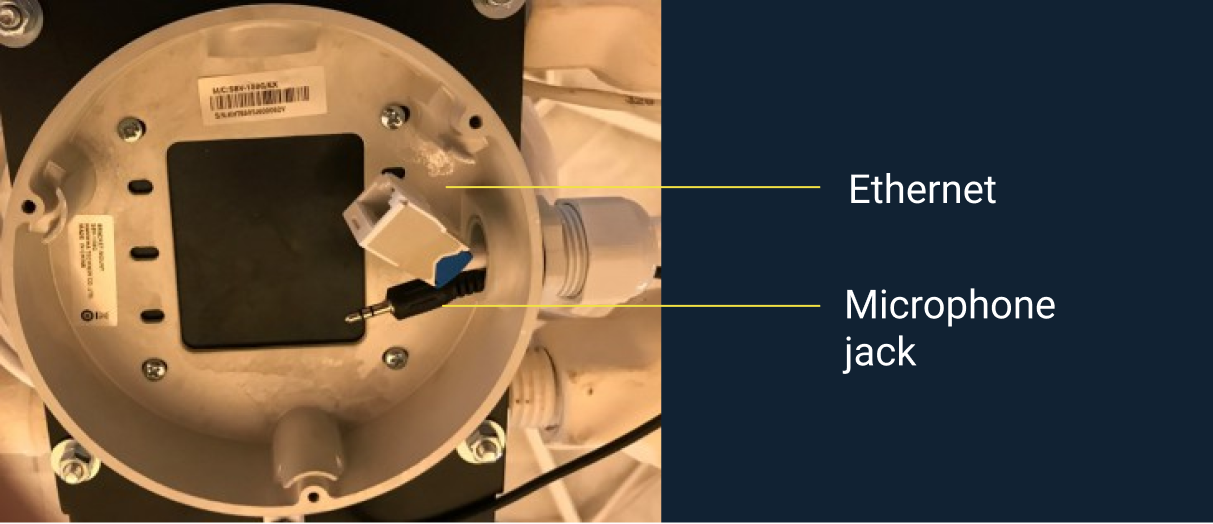
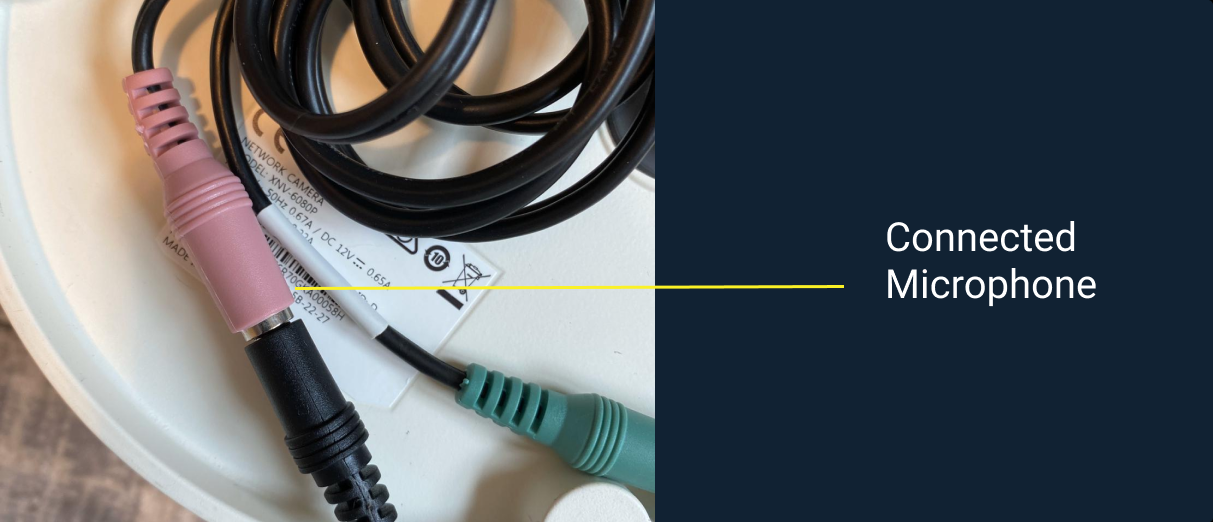
4. Connect the mic jack to the female jack of the camera (in pink)
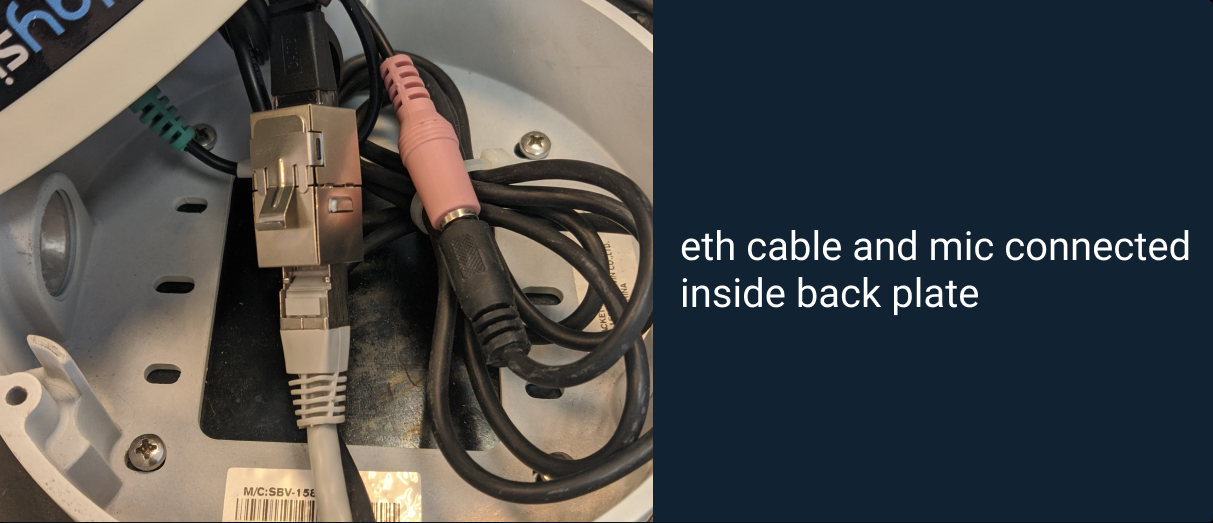
5. Connect the eth cable to the rj45 female connector. assuming the infrastructure is complete and connected, you should see a blinking green light on the camera.
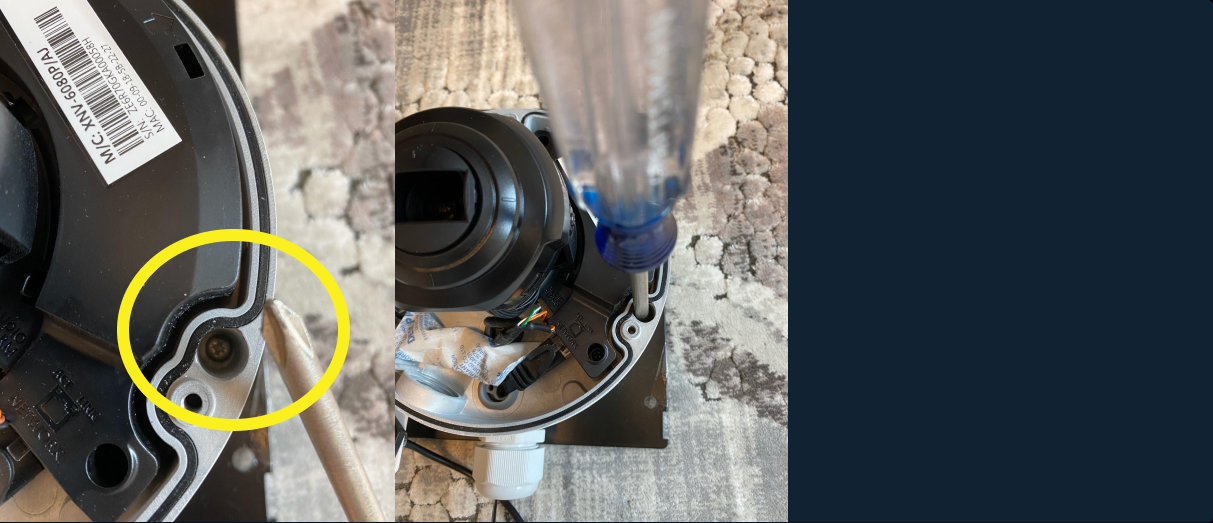
6. Place the camera on its plate and tighten using a Phillips screw driver.
7. At this stage you should see call Playsight support at support@playsight.com in order to set the zoom, focus, and wanted FOV (field of view).
8. When the FOV is set, carefully close the cover using the T20 star key:
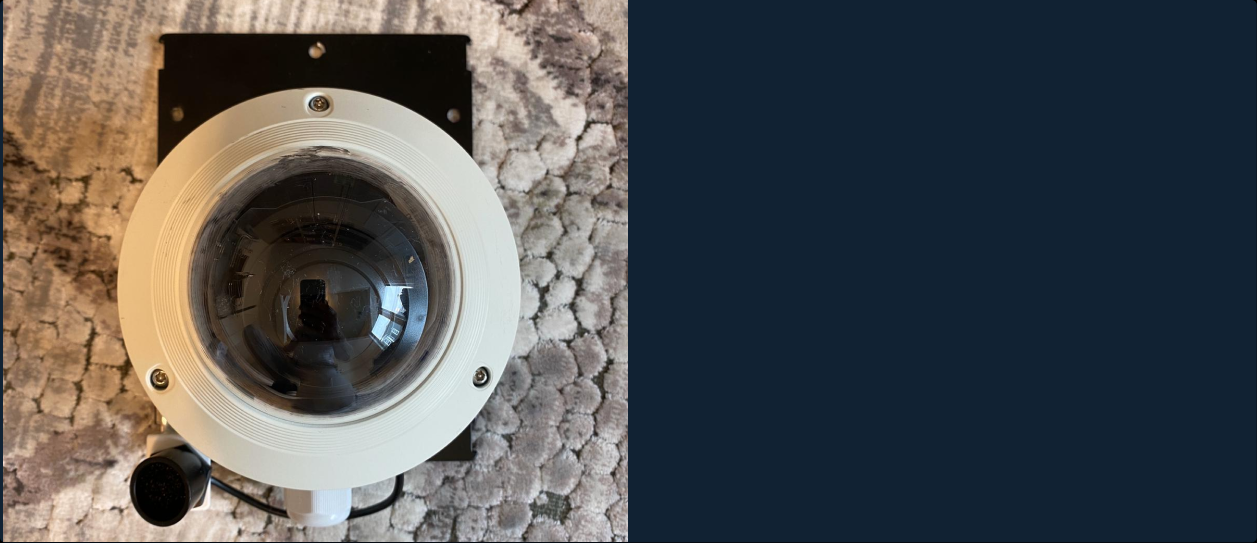
You’re have completed the camera mounting!
